- Clothing Patterns 101
- How to Take Body Measurements
How to Take Body Measurements for Perfect Fit
Taking accurate body measurements is one of the keys to great fit. When you make your pattern block from a commercial fitting pattern, having accurate measurements is critical to the success of your block. (And a well-fitting block is critical to the success of everything you make!)
All you need is a tape measure! While it's easiest to have someone else take your measurements, it can be done by yourself. Just stand in front of a mirror so that you can see that you have the tape in the right position.
Ideally, you should be measured wearing only your undergarments. However, a leotard or close-fitting clothing will be fine. Do NOT measure yourself wearing jeans, sweats, or other bulky clothing. It DOES make a difference!
Because the body is made of soft tissue, it can be a bit difficult to know exactly how tight to pull the tape around the body. The tape should be a bit snug, but not tight - it should not "dig in" or make an indentation in the body. It should not be loose, either! Just wrap the tape around the area of the body being measured and hold it in place. You should be able to put a finger behind the tape, but no more than that.
Measuring the upper body and torso
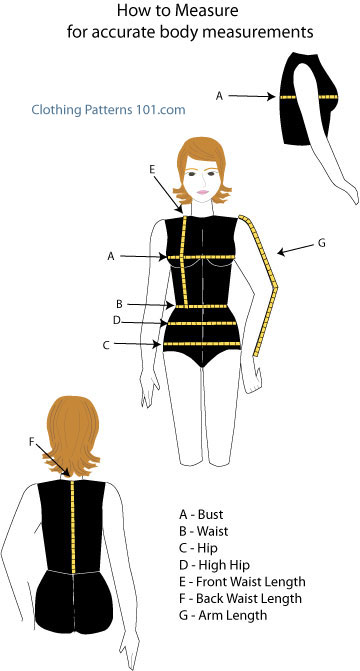
A - Bust - Measure the bust at the fullest part. Measure all around the body (total circumference).
B - Waist - Measure the waist where the body bends. It helps to bend side to side to identify exactly where to measure. You can put an elastic band around the waist to mark the correct placement.
C - Hip - Measure the hips at the fullest part, usually around the seat.
D - High Hip - Measure around the fullest part, about 3 - 4" below the waist. This is helpful when fitting a slim skirt or pants (to get an accurate idea of the shape of the hip, or the belly).
E - Front Waist Length - Start at the shoulder (right next to the base of the neck), and measure to the waist, placing the tape over the fullest part of the bust.
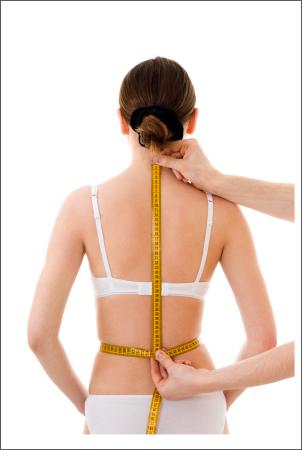
F - Back Waist Length - Measure from the base of the neck (in the center, not the side), to the center of the waistline.
G - Arm Length - Measure from the top of the arm (find the bone at the shoulder/top of the arm) to the wrist (find the bone at the side of the wrist), WITH THE ELBOW BENT. It's important to keep the elbow bent to allow for movement when you make a sleeve.
Measuring the lower body
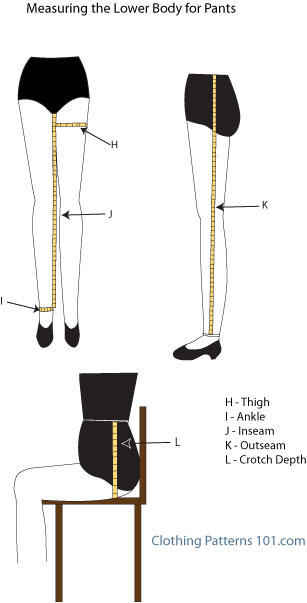
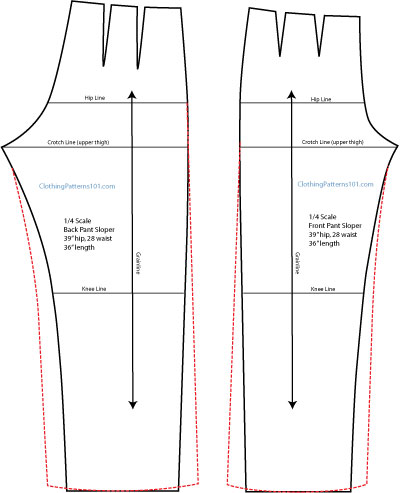
For pants, you'll need to take a few extra measurements on the lower body. Refer to the sketch, above, for the measurement points.
H - Thigh - Measure the thigh just below the crotch, at about the fullest point. Measure all around the thigh, keeping the tape horizontal and level with the floor (this part is tricky, because the tape always wants to dip).
I - Ankle - Measure the ankle all around, at the narrowest point (where the ankle flexes).
J - Inseam - Measure the inseam along the inner thigh and calf, from just below the crotch to the ankle. This is impossible to do on yourself! If you do not have a helper, you can dangle the tape measure with the "1" at the floor, and measure up to the crotch point. Later, with your foot flat on the floor, measure the distance from the ankle to the floor and subtract that measurement from the inseam.
K - Outseam - Measure along the outer thigh and calf, from the waist to the ankle. Again, this is impossible to do yourself. As above, dangle the tape, with the "1" at the floor, and measure up to your waist. Stand up straight! You don't have to look at the number on the tape until you remove it from your body. If you look down while taking the inseam or outseam measurement, you'll have an inaccurate number! And again, deduct the distance from the ankle to the floor.
For a skirt length, measure the outseam from the waist to the knee.
L - Crotch Depth - Sit on a firm chair and measure from the waist to the top of the chair seat. It may be easier to use a ruler for this measurement.
See? It's not hard, and you don't need a lot of measurements to get started.
Fitting Solo - from Measurements to Muslin shows you how to take your own measurements, adjust your pattern, and create a muslin that fits perfectly!
This class is available from Craftsy, of which I am an affiliate and receive a small commission.
What's the Next Step?
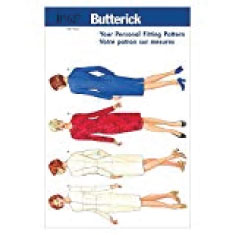
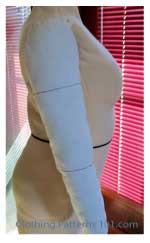
Now, it's time to get your fitting pattern (you'll get the right size, using your body measurements!). Then stitch it up, and start fitting! Oh, and make sure you have all the tools you'll need - there aren't many and you can get started for around $40 (with free shipping from Amazon!). If you choose to use a body form for future fittings, be sure it conforms to YOUR measurements, and your SHAPE! Check the link for Padding the Body Form, below, to see how this can be done.
Let's get started!
Return to Clothing Patterns 101 Home Page
ClothingPatterns101.com does not sell the personal information of its users to anyone, ever.
