- Clothing Patterns 101
- Sleeve Styles
- Bishop Sleeve
How to Draft a Bishop Sleeve Pattern
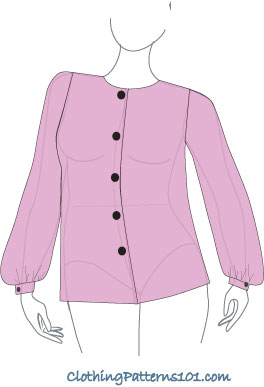
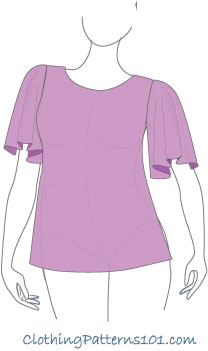
A Bishop (or "Bishop's") sleeve is a classic look, but it's not boring.
It's the difference between a basic blouse with a slightly full sleeve, and a blouse with a beautifully draped sleeve that's fluid and fabulous. It's elegant and graceful, not utilitarian.
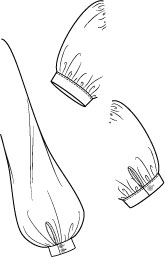
The sleeve is always finished with a cuff. I've shown a simple, fairly narrow cuff, but a longer, mid-forearm cuff is quite dramatic and lovely!
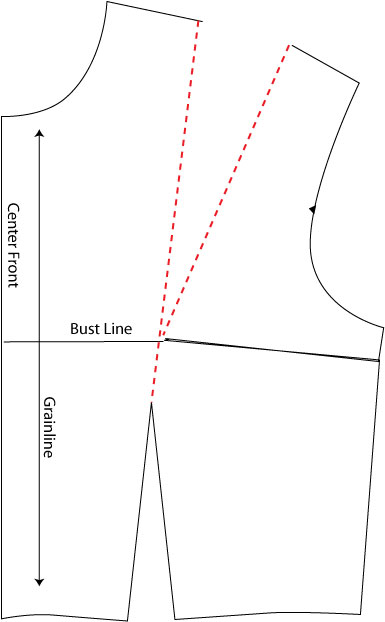
You'll be using your basic blouse block for this pattern.
And don't forget to finish your pattern! Add seam allowances, hems, and facings when you're done!
|
Even the most basic blouse moves up from a basic, "wear for work" garment to an elegant dinner blouse with the addition of a bishop's sleeve - worn with a satin or velvet skirt, it will even take you to a holiday party! The fullness in this sleeve is entirely at the cuff; there is virtually nothing added to the sleeve cap. This is not a "puffy" sleeve, overall. |
The beauty of a Bishop sleeve rather than just a long, full sleeve is that this sleeve is designed with added length at the back/elbow side of the sleeve. It allows for movement without tugging at the elbow when you bend your arm, and creates a lovely drape when the arm is straight. That feature looks best when made of a soft, fluid fabric.
It's not hard to draft, but there's a bit more math involved than in some sleeve designs.
Drafting the Bishop's Sleeve
|
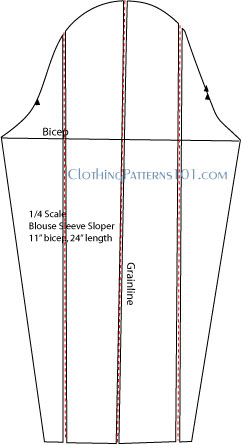
You'll start with the sleeve from your basic blouse, a straight sleeve with no elbow dart. Divide the sleeve into four approximately equal sections - draw vertical lines from the cap to the hem and cut along those lines. Do not cut through the cap - keep the sections connected just a tiny bit, if possible. (It's not really a problem if you cut them apart, it just makes it a bit more difficult to keep them in order and make them meet at the cap properly) |
|
Spread the sections apart to create the full shape of the blouse. I spread 2" at the hem - you may find that you like more or less fullness, and it can vary depending on the fabric you're using. In addition to spreading the sections, you'll need to add a little length to the back part of the sleeve only. This creates that beautiful drape that is what the bishop's sleeve is all about. It also allows freedom of movement at the elbow when the arm is bent. |
|
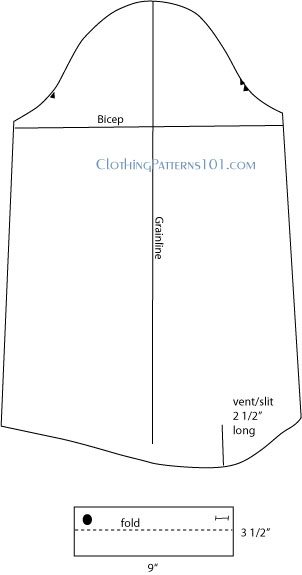
Draw a short line 3/4" below section #3 (the black dotted line) - this is the section next to the center, but towards the back of the sleeve. Remember, the back of the sleeve is the side that has 2 notches in the cap. Now, draw the new bottom edge (the red dotted line). Draw a nice curve from side to side, incorporating the lower area towards the back. This might take a bit of practice, but you can do this free-form if you'd like. |
|
Your final design will look something like the one at left. You'll need a cuff to gather and hold the fullness at the wrist. The measurements in the illustration are just guidelines - you may need to adjust depending on the size of your wrist and how deep you want your cuff to be. This cuff will finish at about 1 3/4"; since it is added to the bottom of the sleeve, it adds 1 3/4" of drape. You may opt for a more narrow cuff and let the sleeve drape take the focus, or you could go with a higher cuff with more buttons or trim. In either case, adjust the length of the sleeve "body" accordingly. Allow at least 1 1/2" of drape. So, for example, if you plan to use a 4" cuff, shorten the sleeve 2 1/2" to keep 1 1/2" of drape. If you want a tiny, 1/2" cuff, add 1" to the length of the sleeve for drape. |
You'll also need a vent to allow the cuff to open properly. The vent is just a short line drawn in the longer area - see the illustration for size and placement.
The vent can be finished with a narrow binding or a placket. The binding is probably easier, and still looks very nice.
What's the Next Step?
Decide how you'd like to use the bishop - on a dress or top - and the neckline you'd like to use. In this case, I'd keep the focus on the sleeve, so a simple neckline compliments the sleeve nicely.
And remember to add seam allowances and a hem before finishing your pattern!
Explore More Sleeve Styles
Return to Clothing Patterns 101 Home Page
ClothingPatterns101.com does not sell the personal information of its users to anyone, ever.
