- Clothing Patterns 101
- Flat-Front Pleated Skirt
Flat-Front Pleated Skirt
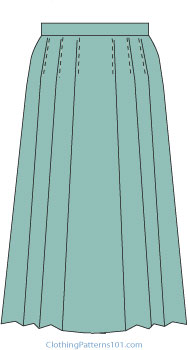
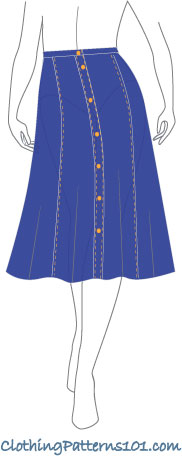
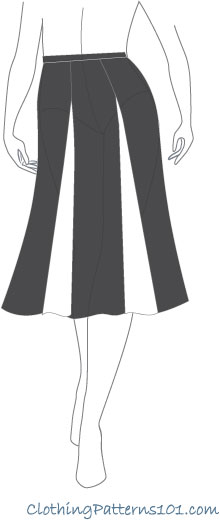
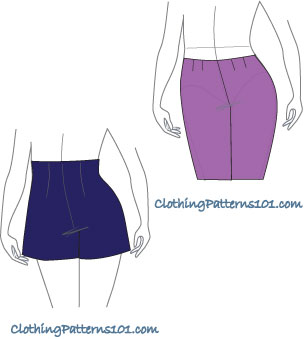
A pleated skirt with a flat front gives you the "swing" of pleats without all of the bulk.
The smooth, flat front is flattering and the overall look is just a bit different than a traditional pleated skirt.
The pleats are also stitched from the waist to the hip, keeping the skirt well-fitted through the upper hip. The pleats are released from the hip to the hem, allowing for movement and flair.
Before you create these dress, skirt or blouse styles, you'll need a well-fitting dress block. You can create one from a commercial pattern, fitting the block to your measurements and shape.
If you'd prefer to draft a block from your own measurements, Craftsy has courses in Patternmaking Basics: the Bodice Sloper and
Patternmaking Basics: the Skirt Sloper
This skirt has a few inches in the front that is not pleated. This allows for a smooth look over the stomach, where pleats can add unsightly fullness.
The pleats all face away from the front section, too, which makes them appear to lay flatter than pleats that fully encircle the waist.
The stitching of the pleats also keeps them from opening near the waist, which adds to the sleek look.
Drafting the Flat-Front Pleated Skirt
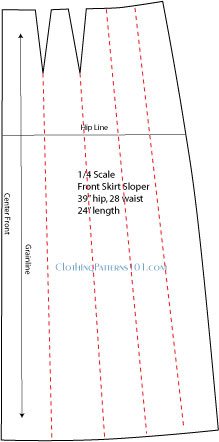
Start with your skirt block (the skirt portion of your dress block). Draw lines dividing the skirt into even sections, with lines that meets the point of the darts.
On the front, do not draw any lines in front of the darts (from the darts to the center front line); this is the flat section.
On the back, DO continue your vertical lines from the darts to the center back (the pleats will continue around the skirt at the back).
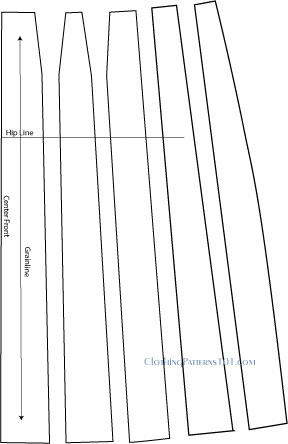
Cut the sections apart and separate them, the width of your pleats.
Depending on the fullness of the skirt you desire, the pleats may be 1 1/2" to 2 1/2" wide (or 3" if you want a really full skirt). Spread the sections apart by the width of the pleat. The depth of the pleat is 1/2 the width; in other words, for a pleat 1" deep, you'll spread your sections 2", so that you can fold that width in half to achieve the 1" pleat.
To ensure that the pleats hang nicely, keep the distance between pleats even from top to bottom (except for the shape of the dart).
Lay your pieces onto your pattern paper and trace around them, WITH the sections separated as described above.
The distance between the sections is, as described, your pleat.
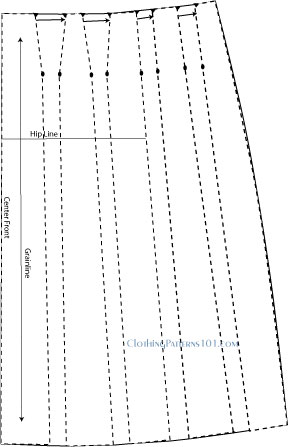
Markings are very important on this pattern!
Mark the bottom of the darts (you will still stitch those pleats with the dart shape for good fit), and mark all of the other pleats at the same place. This part will be stitched closed, and topstitched, to keep the pleats nice and flat over the hip.
It also helps to mark the full length of the pleats, to make sure that you fold and press them accurately.
Arrows at the top of the pleats indicate the direction in which the pleat will be folded. In this case, all the pleats fold away from the center front.
This page shows how to draft a skirt pattern using your skirt block. Remember to finish your skirt with hems and seam allowances!
What's the Next Step?
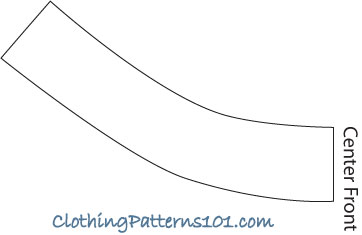
After finishing your pattern with markings, hem, and seam allowances, just cut and sew! You'll also need a waistband for this style (a waist facing doesn't work well with pleats). Then pick a blouse to wear with your brand new skirt!
More Skirts
More Waist Treatments
Return to Clothing Patterns 101 Home Page
ClothingPatterns101.com does not sell the personal information of its users to anyone, ever.
